What a cheap and easy way to spruce up your entry, find the tutorial here http://asoftplace.net/2011/04/spring-spruce-up-diy-doormat/
I am super excited to make this one happen. Currently we have a plan ol' mat at our front door.
Tuesday, April 24, 2012
Friday, March 2, 2012
Frugal Find Friday; Faux Metal Wall Art
Faux metal wall art
http://suzyssitcom.com/2011/02/feature-friday-faux-metal-filigree-frame-tutorial.html
I seriously cannot wait until I have enough rolls saved up to do this project!!! So neat and almost free!!!
Make Your Own Modge Podge
As most of you know or see Modge Podge is most crafters secret weapon!!! Right!? Well I happen to run across this recipe to make your own without paying the price of the Modge Podge. I have yet to test it out, but cannot wait to try it :)
What You Need:
- 1 pint-sized jar
- school glue
- water
- varnish (optional)
This is so simple! Just take your jar and fill it halfway full with the glue. Then fill your jar the rest of the way with the water. Now mix it up! Yeah, that's it! The lovely ladies of Babblings and More note that this recipe will create a matte finish and suggest that if you want a glossier finish to just add a Tbsp. of clear varnish!
Originally from; http://www.homemademamas.net/
Friday, February 24, 2012
Frugal Find Friday
West Elm Version
Pricetag: $150
Her Version:
Price Tag- $22.75
Tutorial found here:
Wednesday, February 22, 2012
DIY: Nursery Alphabet Frame
I made this for a friends nursery, I love the way it turned out and after using Michael's coupons the total cost was $5.22 (minus the spray paint- I had it from a previous project) Not bad for a custom coordinating frame. I am super excited to give this to her.
And here is a close up.
All I did was spraypaint a plain wood frame the color I wanted, and used scrapbooking alphabet stickers, arranged them to my liking and walah! Easy peasy
Camera Strap Revamped
EDIT: This is an old project I came across and wanted to share the tutorial!
I decided I wanted one of those cute camera straps but didn't want to pay $15-30 for one. So with left over fabric from a previous project (Even originally the fabric was only $1.50) I made my own at no cost!!!
Materials Needed:
Camera strap
Fabric (You'll probably use about a 1/4 yard)
Sewing Machine (Hopefully you already have yours threaded, otherwise you'll need that too)
Pen or sharpie
First lay your camera strap on the fabric to prepare tracing it for cutting. Make sure that your fabric is good sides in, like seen below.
Then trace around your camera strap, I traced directly up to it- knowing I would cut extra for seems.
Here, starting to cut to pattern I just made, I gave myself enough allowance for seems.
I am very lazy when I sew, so I didn't pin anything, I just went for it holding down the seams. Feel free to pin yours if your not comfortable doing this. *Be sure not to sew shut the ends but sew the seams in to have a nice clean edge.
After your finished sewing, turn the cover inside out, I find it easiest to pin a safety pin on the end and feed it through with my finger.
Then put it on your original strap, it will be snug at first and a little difficult getting on- for me I wanted a nice sleek look so I used a stretchy cotton fabric that I just had to push a little harder to get it completely on, but so worth it now that it fits just right! And of course since you traced your original strap you don't have to worry about it being the wrong size like when ordering one.
Friday, February 17, 2012
DIY Notebooks
DIY notebook Tutorial;
First you will need;
Cardstock
Basic Printing paper
Needle and thread
Washi tape (Or colored duct tape)
Marker
>Take your cardstock and fold it in half
>Take your printing paper (I used 15 sheets) and cut to fit within your cardstock; You can do any size just remember that your paper should be a cm shorter in length and 1/2cm shorter in height, than your card stock.
> make holes with your needle - if you find it hard to make the holes you can use a hammer
>Take your needle and thread, I folded my thread double to make it stronger, and use a running stitch up the spine. Do it up the spine and back down again. Filling in the gaps between stitches as you come back down the spine.
>Cover your spine with washi tape, or for me I used colored duct tape (much cheaper)
And whalah! your notebook is complete!
Monday, February 13, 2012
Photo Collage Ideas
Here are a couple of various photo collage ideas, easy way to spruce up the walls by either using frames and art you already have or doing some thrift store shopping.
More to come.....
DIY Wallpaper Lampshades
Super cute idea, dress up your old lampshade with decorative wallpaper
Tutorial found here: http://www.housetohome.co.uk/articles/advice/style_ideas/Step-by-step_instructions_523975.html
Sunday, February 5, 2012
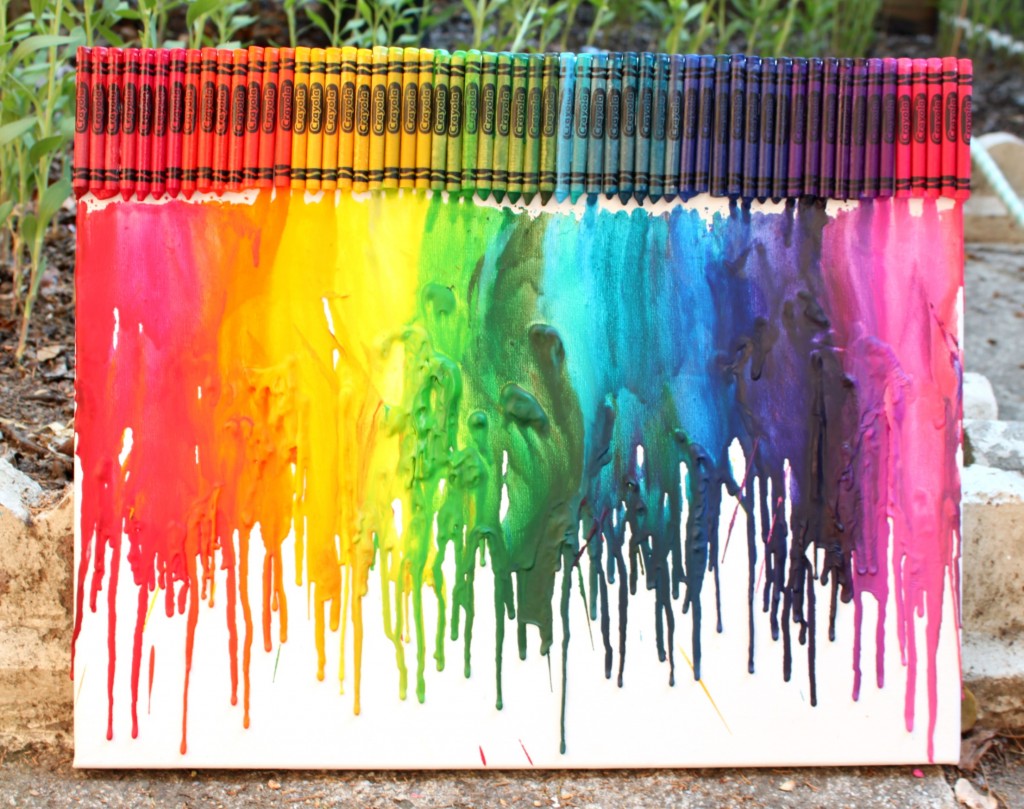
Cheap Amazing Crayon Art
Tutorial found here; http://www.52kitchenadventures.com/2011/09/12/melted-crayon-art-tutorial/
This would be a super neat gift from kids, and I'm sure if your a parent you have crayons laying around. I think it would be a lot more fun to do different colors versus the rainbow of crayons, experiment and have fun with it!!!! I can't wait to try this :)
Ribbon Hanging Frames
Tutorial Here:
Simple and classy!!! Cheap too! Most Michael's carries these unfinished frames for only a buck a piece, add a dollar or two for ribbon and I'd use either a staple gun or glue gun, instead of the velcro as suggested in the tutorial. Will post update when I complete this.
Saturday, February 4, 2012
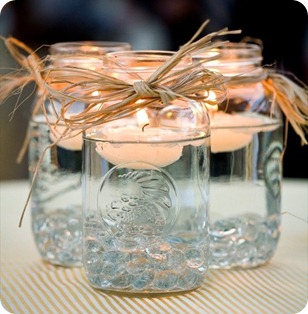
Mason Jar's Put to Good Use-Check it
This jar is for my nice memories. I’ve found beautiful papers to write on, and every time something lovely happen to me, or a quote, I write it down and drop in the jar. When I’ll be in a bad mood, I’ll read some of them, so it’s a little mood-lifter. :)
Glowing Jar Project:
Step by step directions here--
Fancy Mason Jar Cups;
Perfect for parties
Instructions found here--http://www.iheartnaptime.net/jar-cups/
Subscribe to:
Posts (Atom)


